Flowery Watercolor Paintings


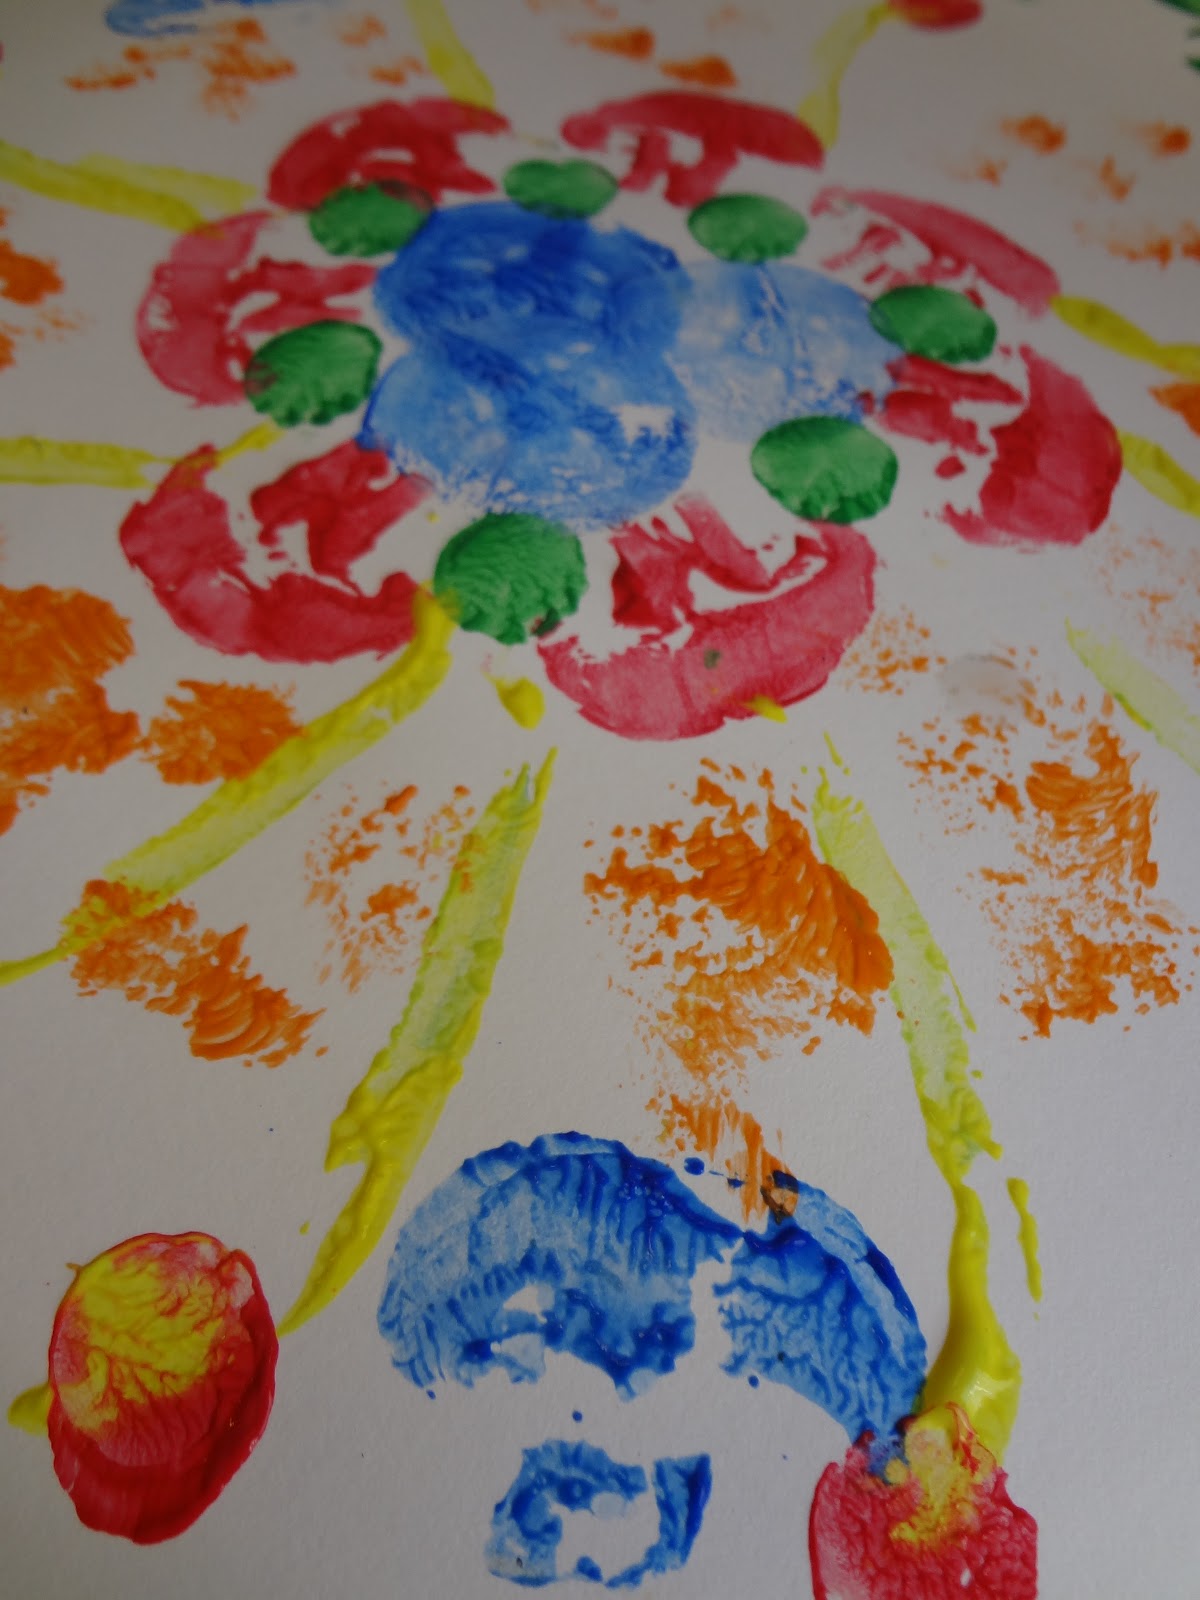
Flowery watercolor paintings are fun because they are half painting and half observation.  Working with watercolors on a very wet background allows the paint to "blossom" and "bloom" all over the page.  Each one will be different, try making a few to see what will happen!  A fun way to learn about what happens when colors interact and mix together too!

Here's what you'll need:
  • Watercolor paper or heavier drawing paper
  • Watercolor paints
  • Brush (any size will do, try mixing it up to experiment with different effects)
  • Water
Dip your brush in clear water and cover the paper liberally,


Pick a background color...we chose green to mimic green grass like a field for the flowers to grow in,


Clean your brush by swirling it in water, then load it up heavily with any color you'd like...don't dilute the paint too much with water, you want it to be heavy on the paint side for your first flower.


Now gently touch the brush to the wet surface and watch your flowers bloom and grow right before your eyes!  It's fun to try different colors and it is OK to let them run together too!  This is a great opportunity to talk about colors and color mixing while the paints are mixing together on the paper.  Lay flat to dry.


Magic Wand Pencil Topper!


Some days, everyone needs a magic wand.  Here is one you can whip up in seconds and dress up your pencil too!

Here's what you'll need:
  • Pencils 
  • Pipe Cleaners


Start by wrapping a pipe cleaner around your pencil.  Wrap a few more for the streamers too...


Leave the pipe cleaner on the one you want to use for the handle, and carefully slide the pipe cleaners off of the pencil to be used for the streamers,


Attach the streamers to the top of the pencil...


Bend a heart shape (or any shape you'd like),


And attach it to the top!  Now you're ready to wave your magic wand around!

Freestyle Fridays


At the end of the week, when things are winding down, we like to have Freestyle Fridays.  This is the day where I step back and let the kids take the reins!  I let them pick any art materials they want and let them do anything they want with them.  


They get such a thrill out of this...they love having complete control of their creative process without anyone telling them "how" to do it.


Today they selected paper, play-doh, markers, crayons, and sparkle letters.  An eclectic combination indeed!


Using both things together on one sheet and mixing the play-doh colors together...


Playing with textures, a bit of drawing and sculpture on one project...


It usually makes a huge mess, but I think it's good for them to have some unstructured art making...they had a blast!  I wonder what they'll pick next week?

Rubber Band Ball Prints


Unconventional art tools are so much fun...do you remember making rubber band balls?  We decided to do a little experiment to see what would happened if we added paint and rolled one around on some paper...

Here's what you'll need:
  • Tempera paints
  • Rubber bands
  • Paper
  • Paint brushes (optional)
  • A small ball (optional)

Begin by making the ball, you can make yours entirely out of rubber bands or wrap them around a ball you already have to save time.  If you'd like to be able to use the ball afterwards, be sure to use washable paints.


Keep going until you have the number of rubber bands you want.  You don't need to cover the entire ball, just enough to give it some really good texture.


Now it's time to paint!  Apply paint to the ball either by brushing it on or rolling the ball around in it...


And roll it all around!  The ball made some really interesting patterns on the paper...


Here's a close up of our fun,


Try rolling the ball, stamping with the ball, and if you're feeling brave about the paint splatters, bouncing the ball too!


When you're all finished, you can wash the ball and bands and reuse them for your next creative adventure!


Veggie Prints


We had so much fun making potato print gift wrap the other day, so we decided to raid the fridge and make veggie prints!  It sure was interesting to dig around in the produce drawer and decide if each vegetable was worthy of our masterpiece.

To make veggie prints here's what you'll need:

  • Paper of your choice
  • Tempera paints
  • Vegetables! 
  • Paintbrush (optional)

Start by cutting (grown-ups help here) you veggies as needed for the shape you desire.  We cut mushrooms in half, sliced the zucchini, but left the broccoli intact.  Try experimenting with different types of cuts for a variety of effects.

Dip (or brush if you prefer) the paint onto the veggies...stamp to your hearts content!  Try making them with different types of paper too.

Tip: If needed, blot the vegetable on a paper towel to remove excess moisture before dipping them in the paint.


Here is our masterpiece...have fun creating yours!


 Oh, and here are the veggies when we were finished...please do not eat them!  :-)


Potato Print Gift Wrap


This project is so much fun and is perfect for that special handmade gift.  Using simple materials, you can make a bunch of it ahead for future gifts too!

Here's what you'll need:

  • Tempera Paints
  • A potato
  • Paper - we used brown kraft paper

Start by cutting the potato in half then cutting a shape from it (grown up helper needed).  We chose a square, but any shape is lovely...just make sure the shape is cut deeply enough so that the shape will stamp cleanly and clearly.

Now, spread out your paper to get ready to print...


Our paper had been in a roll, so it was a bit curly, some heavy drinking glasses did the trick.


Now you're ready to print!  You can either dip the potato stamp into the paint or brush it on like we did here:


Start stamping away!  After every second or third stamp, you'll probably have to dip or brush on more paint.


Stamp as much as you like...


We used our gift wrap to wrap this treasure box...

Click here to make your own treasure box!


And here is our beautiful gift all wrapped up!  I tied some twine around it, I thought it looked nice against the paper.


Craft Stick Treasure Box


Do you remember making these as a kid?  Using craft sticks and glue, you can make your own treasure box in no time at all!  A treasure box makes a thoughtful gift too.

Here's what you'll need:
  • Craft sticks
  • Glue (we used white school glue)
  • Tempera paints
  • Things to decorate your box: glitter, beads, buttons, pom poms, feathers, and anything else your little one would like to put on there.
To start, just lay out 10 sticks for the bottom and 10 for the lid...


Run a stripe of glue along the next stick like so...


Then 3 more, then place them as shown below...


Now your lid is finished!  On to the box bottom.  With the first layer, place a glue bead at either end of a stick and begin to stack them as shown (kind of like a log cabin).


Keep going in this manner until the box is the height you want it to be...


At this point, you can straighten up you sticks if you need to while the glue is still wet.


There you go!  Your box is complete!  Now on to decorating...


We painted ours with tempera paints.  You could also try watercolors, they'll soak into the wood more making a "stained" effect.


While the paint was still wet, we added a (generous) sprinkle of glitter too...


Then a large wooden bead for a "handle,"


some buttons and beads,


and even some alphabet letters that I had from another project...lovely!

(By the way, the recipient loved her treasure box!)